Monday, March 3, 2014

Sweet Potato Pork Chop Skillet


Because a recipe ain't worth the vintage pot you cook it in if it has less than a four-word title.  This recipe was a product of good ol' fashioned desperation followed by common-sense matching up of available ingredients bounded by the limits of time.  Which is to say, my husband was hungry and rightfully expecting a meal of higher quality than scrambled eggs and lunch meat.

What makes this recipe great and probably just like every other sweet potato pork skillet is that as the pork chops bake in the oven they release all their lovely porky juices into the bottom of the pan where the sweet potatoes soak them up, so you get this messy pile of garlicy, porky, sweet potatoes to go with the chops.

Sweet Potato Pork Chop Skillet

4 pork chops (bone in or boneless is your choice)
3-4 medium sweet potatoes, peeled and shredded
3 TBSP unrefined organic coconut oil (or whatever cooking oil you have on hand)
1 1/2 tsp granulated garlic
1 tsp salt
1/2 tsp ground pepper

Preheat the oven to 350F.  Heat an oven-safe skillet on medium-high heat, an add 1 TBSP of coconut oil.  Salt and pepper the pork chops on both sides. Just before the coconut oil (or other cooking oil) has reached its smoke point, add the pork chops to sear & brown, approximately 90 seconds per side, depending on thickness. To avoid moisture loss in the pork chops do not crowd during the browning, and brown in two batches, if necessary.  Remove pork chops from the pan and set aside.  Add 2 TBSP coconut oil, and the shredded sweet potatoes.  Season with garlic powder, salt, and pepper and start to brown.  When potatoes start to reduce and skillet edges start to crisp, nestle all pork chops back into the sweet potatoes.  Place into the oven for 30 minutes.  


The pictures were an "oh yeah" sort of after thought, so my stovetop wasn't clean when I started cooking, and the unfortunate effects of the lighting don't often result in very appealing pictures. So, I'm going to do what I do best: steal from the internet.  I'll mix in some of my pictures, too, just to keep things real.

First, we need to gather our tools together, so for this recipe you'll want a heavy, well-seasoned cast iron skillet.  Don't have a skillet? Make sure whatever you're using is oven safe, because this is a one-pan wonder of a recipe.


You'll want a tongs, for the handling of the pork chops.  

A box grater for the shredding of sweet potatoes. 


And, a spatula for the flipping of sweet potatoes.


Next, we want our ingredients.  For the purposes of smooth process, start with the sweet potatoes.  Collect 3-4 medium sized sweet potatoes if you want lots of potatoes to go with your meat.  2-3 potatoes if you want less.  When choosing remember that sweet potatoes shrink in the cooking process, so what looks like a Krakatoa-sized pile of shredded potatoes will likely cook down to a modest hill.  If you've got a food processor to shred the potatoes in then bully for you. The rest of us have to use a regular box grater.  This is probably the most work you'll end up exerting in this whole recipe, so....GO!

Locate our fancy-pants coconut oil and measure out 1 TBSP.  I use this brand, mostly because it came in a paint-can sized container at Costco, but this recipe will work with olive oil or other seed oils of your preference.  I wouldn't use butter for this because the milk solids will scorch and send nasty scorched milk solid smells throughout the food.

Now we can start heating our skillet up with the oil.  Heat this skillet until the oil is almost or just at the smoke point.  We want to be able to effectively sear and brown the pork chops.

Ignore, for the present, that I clearly used more than 1 TBSP here because, well, I was eye-balling things and not being very precise.  The consequence was that my product came out oilier than necessary or, frankly, desirable.

While the skillet is heating, salt and pepper your chops.

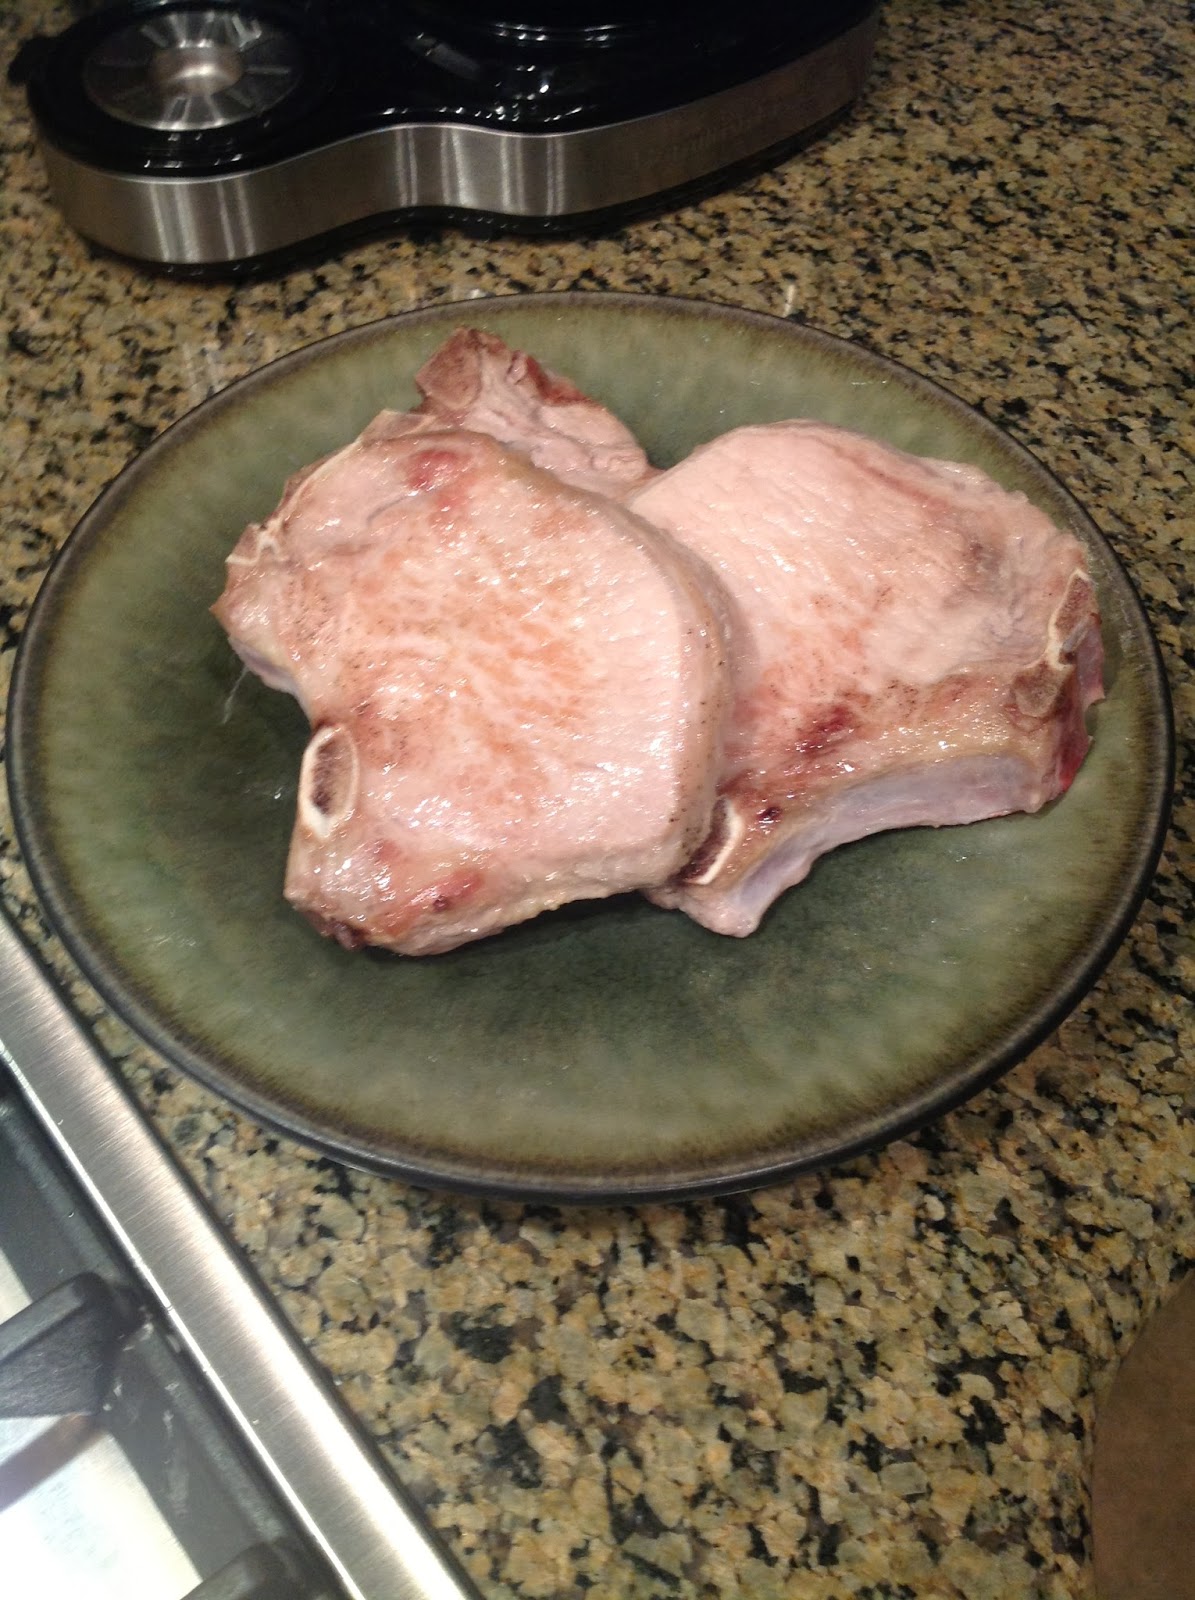
I use bone-in chops because they are less expensive, and have a little more fat that renders into the sweet potatoes nicely.  You can use whatever you want, but what you cannot do is crowd the chops during the browning process.  If your chops are large and you can't have 2-inches or more between chops than brown your meat in two batches.  I had four large chops, and I had to do a 3:1 round.

See?  Any closer and the meat would start to steam and juice out, which we don't want it to do yet.    Use your tongs to turn the chops, more for safety reasons than for any sort of high-quality cooking technique.  Your Adventure Cooker has learned through bitter experience that flipping chops browning in hot oil using a spatula can cause an unexpected impact blast radius of aforementioned hot oil that can land on hands and fingers.  So, save your epithelials the trouble of excessive regeneration and use a tongs.

One more note about browning the chops, my chops were close to 1.5 inches thick, so I browned for 90 seconds per side.  Obviously, thinner chops can be done in less time.  Once the chops are browned, set aside.  Hopefully the skillet will have lovely brown bits of business on the bottom and will be hot enough to be smoking a little bit.

Add the remaining 2 TBSP of coconut oil.

Yes, yes.  I know. WAAAAAY too much oil, but again, I was eyeballing things.  Also, I may or may not have been on my second glass of wine by this time.  Anyway, add the sweet potatoes you spent time, sweat, and possibly a little knuckle skin getting shredded.

Locate your seasonings.  It's easy, like 1-2-3 easy.

Season your sweet potatoes with 1 1/2 tsp of garlic powder (more if you're fond of garlic), 1 tsp of salt, and 1/2 tsp of black pepper.  This is the part where paying attention is really helpful.  Because of the higher heat, the oil, and the naturally occurring sugars in the sweet potatoes, it is imperative to keep an eye on the browning process.  Sweet potatoes go from lovely toast colored to BURNED BLACKER THAN A TAR PIT in seconds.  This knowledge also comes to you from the Adventure Cooker Historical Notes of Learning Via Consequences.  We are not cooking the sweet potatoes 100% of the way, but we are looking to get a browning started, so flip, turn, and stir the potatoes until they start reducing down.  Next, bury your pork chops back into the sweet potatoes, and dump any juices in as well.

Pop this whole mess into a 350F degree oven for 25-30 minutes, or until the sweet potatoes start getting brown and crispy along the edges.  Cast Iron skillets are marvelous for being easy to mentally register that they will be hot, so using a pot holder to move the skillet around isn't that far of a stretch of mental resources.  If you are using an oven-safe teflon skillet or similar, REMEMBER to use a pot holder to move the skillet out of the oven.  This public service announcement is brought to you by yet another one of the Adventure Cooker's bonehead blunders.

Off the subject of how many times your friendly Adventure Cooker Cook has injured herself in the kitchen, and onto how marvelous this meal smells when baking.  It smells like home.  It smells like comfort.  It smells like nutrition made easy.  And, it smells REALLY good.

30 minutes should be on the far end of time needed to finish the pork chops to safe doneness temperatures.  Plated, it doesn't look particularly beautiful, but that could be less an issue of the food, and more an issue of how desperate I was to be eating it.

This is another recipe that reheats well, but does not freeze and thaw nicely. Enjoy!

Wednesday, February 26, 2014

Adventure Cooker is Moving?

Well, sort of, and only in a virtual sense.  I'm joint blogging with a friend here in Texas over here and another Adventure Cooker site hosted by WordPress.  I'm going to be maintaining my recipe development work here, but all my non-recipe writings and musings will be on the WordPress site.

So, as a temporary hold-over in the next 48 hours I promise to post the next recipe I came up with: Pork Chop Sweet Potato Hashbrown Skillet.  It is awesome.

Thursday, January 10, 2013

Cheddar Chicken Chowder

Soup season continues, this time with a hearty, thick, decidedly UNpaleo offering that I shamelessly ripped off of Cooking Light and modified to be healthier.  Cooking Light's schtick is to "lighten" up recipes to make them lower calorie and lower fat.  Often, this means that they use low-fat products which, as we all know, as just horrid conduits of synthetic or processed sugars (among other issues); so, while you're calorie count goes down, your glycogen process goes all to heck.  Now, let me clear up something about this soup: There are corn and potatoes in the recipe, which doesn't do your glucose levels any favors.  Unless your body is accustomed to starches and carbohydrates it's quite possible you may experience an insulin spike and resulting crash with this soup.  For anyone who is fully dedicated to eating Atkins, paleo, or South Beach this is a soup to avoid.  For those who embrace the clean eating and everything-in-moderation position this is an awesome addition to the soup season repertoire.  Whenever I have guests in the winter this is one of my favorite things to prepare and serve with a warm, crusty bread.  It would even serve beautifully in bread bowls if you have that option.

All that said, I didn't take pictures of the preparation of this soup, so all my pictures are acquisitions off the internets, including the final picture of the soup output.  That's just the way the Adventure Cooker rolls, sometimes.

Cheddar Chicken Chowder

5 c. chicken broth
2-3 lbs chicken breast or chicken tenderloins, cut into bite-sized pieces
4-6 slices thick cut bacon, chopped
10 oz frozen corn (or similar size - whatever your grocery store has)
4-5 small-to-medium red potatoes, unpeeled and chopped 
1 red bell pepper, chopped
1 medium onion, chopped
2 garlic cloves, pressed/smashed/diced/what-have-you
12 oz can coconut milk (or 2 c. whole milk or heavy cream)
8-12 oz sharp or extra sharp cheddar cheese, shredded
1 tsp salt
1/2 tsp black pepper
Arrowroot or cornstarch to thicken

In a large soup pot on high heat, brown the bacon pieces.  Remove the bacon pieces and leave the rendered grease in the soup pot.  The bacon bits will be used as a soup topping later (unless your spouse finds them first and eats them all).  Add the chicken to the bacon drippings and brown the chicken for 5 minutes or so.  Add bell pepper, onion, garlic, salt, and pepper.  When things get aromatic, add the chicken broth and potatoes.  Bring to a boil, then reduce to a simmer for 45-60 minutes.  When the potatoes are thoroughly cooked, increase the heat, add the frozen corn and bring back to a boil.  Add the coconut milk (or cream) and, with the soup at a good boil, thicken with your chosen starch.  Reduce the heat and stir in the shredded cheese, one handful at a time until it's thoroughly blended.  

Serve topped with bacon bits (if there are any left), a little more shredded cheese, and green onion.  Roasted green chile goes with this amazingly, too! 

This soup reheats well, but doesn't freeze nicely.  


To avoid falling into process armageddon, I've found that doing all the chopping up front makes putting this soup together a lot easier.  Be mindful of cross contamination issues, since you'll be horsing around with raw chicken.  What I do is chop all my veggies first: Onion, pepper, garlic, and potatoes.  But, Adventure Cooker, won't the potatoes go black as they oxidize? Oh yeah.  Well, if everything is prepped with sufficient alacrity, AND if you toss a damp paper towel over your chopped produce you'll slow that process down some.  If you're really worried about the potatoes going black chop them up and submerge them in a bowl of cold water until you're ready to use them.


Next, chop your meats up. To prevent cross contamination problems with the raw chicken, chop your bacon first, and make the last thing you do on your cutting board the chicken.  To even further avoid cross contamination problems, use a completely separate cutting board for the chicken, but for those of us who cherish minimal clean up and are good at thoroughly disinfecting our cutting boards, this process works, too.  So, bacon first.
Chicken second.  

Any cut of chicken will work in this recipe, really, but if speed is of the essence, I found that using chicken tenderloins was easiest because it was only one chopping exercise, instead of using thighs or breasts where you'd have to slice it up and then chop the slices.  And, really, who needs all that noise?

Brown the bacon up, being sure to leave the bacon grease/rendering in the soup pot.


After you've removed the bacon pieces, add the chicken and brown that up.


It's painfully obvious that I stole all these pictures and I'm feeling vaguely ashamed about that right now.  Well, not really, but still.  Onward.

Add the bell pepper, onion, and garlic and stir up until the delicious smells of bacon-seared chicken and veggies starts to waft out of the soup pot.  Dump in the chicken broth.  This is where you can take advantage of your previous soup efforts wherein you also socked away chicken broth in the freezer!


Add your potatoes to everything, bring to a boil, reduce to a simmer, cover, and leave it alone for 45-60 minutes, or however long it takes for the potatoes to be thoroughly cooked.  Bring the soup up to a rolling boil and add your corn niblets.  It's important to use frozen corn here because it is still basically raw and crisp.  Canned corn has had the ever-lovin' life cooked out of it already so to add it to a soup would be the equivalent of running over a dead cat: it only gets deader.

Corn is one of those things that is best bough organic, since it is one of the chiefly GMOed products on the market currently.  That said, only do what your budget can handle.  Go ahead and drop in the coconut milk or dairy cream, depending on what your preference is.  I use coconut milk because it's something I almost always have in the pantry (see inadvertent plug for buying things on Amazon there?).


 The corn and milk will drop the soup's temperature, so bring the soup up to a boil again so it can be thickened.  As a dominantly paleo eater, I use arrowroot powder to thicken things, but the tricky thing about arrowroot is that heat breaks it down, so you can't endlessly keep your soup simmering with an arrowroot thickener because eventually it will thin again.  But, for this soup, arrowroot works just grand.


Tapioca starch, non-gmo corn starch, or even unbleached white flour would also work as optional thickeners.  If you're going to go the flour route, mix it into the coconut milk or cream, and then slowly whisk the cream into the soup.  Once the soup is thickened, reduce the temperature a little to avoid scorching or sticking and start to add your shredded cheese, one handful at a time.

The cheese should smoothly blend into the soup changing the color of it from a creamier white to a pale orange/yellow.  Delicious.  Served up, it should look something like this:


It tastes so good.  The heartiness of the thick soup with the chicken and potatoes contrasted with the sweet snap of corn and the saltiness of bacon and cheese.  The gift of the senses is something to be thankful for with this soup.  Enjoy!

Tuesday, January 8, 2013

Chicken Chile Verde With A Side Of Chicken Stock

It's January (Happy 2013!), so that means it's been winter for a while.  Everyone has different standards of what qualifies as winter, but for the Adventure Cooker, winter means any day that is less than 70 degrees fahrenheit.  So, what does one do when the temperatures dip, the clouds roll in, and winter plops its generous unwelcome butt in our favorite chair? We make soup.  Chicken Chile Verde soup is an excellent way to kick off soup season, but despair not if you don't have fresh chile in the super market or in your freezer.  Most grocery stores carry it in their canned food section, and while it's not 100% marvelous it's certainly better than no green chile at all, am I right? Huh? >nudge nudge< Huh?

There's a bonus feature to this recipe, that that's a quick side note about making chicken stock from the chicken bones.  Most of the ingredients necessary to make the soup are also necessary to make chicken stock, which can then be frozen for future use.  You can make six to eight cups of chicken stock for just a little more than the cost of one can of store bought stock, but healthier since you can control the sodium content, oil, and other factors.  Piggy backing cooking efforts like this saves time and save a lot of money in the long run.  I don't think I've had to buy chicken broth in over 6 months since I started this practice.

I made this soup back in October, so I had access to fresh chile which I roasted on my grill and chopped up in large meaty chunks.  If you can buy whole chiles in the can, just do a rough chop so you get nice hearty chunks of chile in the soup.  First, though, let's look at the recipe.


Chicken Chile Verde
1 chicken, roasted, boned, and chopped
5 cups chicken broth
1 cup chopped green chile
10-12 smallish tomatillos cut into bite-sized chunks. 
3-4 celery stalks, chopped
1 medium white or yellow onion, chopped
2 cloves of garlic, finely diced (or run through a garlic masher)
2 TBSP coconut oil (or olive oil, or butter)
1 TBSP dried oregano
1 tsp ground cumin
1 tsp salt (or more, depending on your preferences)
1/2 tsp ground black pepper

In a large soup pot over medium-high heat, add the coconut oil. When the oil is hot (but not smoking) add the celery, onion, and garlic.  Sautee until the onions are getting translucent and the celery is bright green. Add the chicken broth and bring to a boil. Add the oregano, cumin, salt, and pepper, followed by the green chile, chicken, and tomatillos. Simmer for no less than 30 minutes, or as long as 2 hours (keeping an eye on the moisture level in the pot).  

This would also work in a crockpot by omiting the oil and sauteeing step and just adding all the ingredients into the crockpot. Turn the crockpot on low for 6-8 hours, or on high for 4-6 hours.

Serve topped with freshly chopped red onion and cilantro leaves.  


Chicken Broth
8 cups of water
Bones from the chicken
The remaining celery stocks chopped into large pieces
1 large onion (or 2 medium onions) chopped into large pieces
6-8 cloves of garlic - peeled or unpeeled makes no difference
3-4 whole bay leaves
2 whole cloves
2 tsp dried thyme
1 1/2 tsp salt
1 tsp ground pepper

Add everything together in a large stock pot and bring to a boil.  Reduce to a low simmer, cover and let simmer for no less than 1 hour. The longer it simmers the stronger the broth will be, but with boiling comes evaporation/reduction which produces a smaller yield, too.  Strain the broth through a very fine mesh sieve, or through a cheese cloth. The broth will be cloudy and delicious.  It can be saved in the refrigerator for 1 week, or frozen.  


My grocery budget isn't infinite, so more often than not, I'll buy a whole, raw chicken and roast it in the oven, since it usually a few bucks cheaper than buying a rotisserie chicken from the deli.  That said, a rotisserie chicken from the deli would work in exactly the same way as I'm about to describe with the raw chicken.


I don't want the chicken to fall apart in the cooking process which means I'm going to truss it up.  I also don't have any cooking twine so I'll use the chicken itself to serve as the binding tool.  In the flap of skin along the gaping chicken hole between the breast and leg, I'm going to pierce with a knife enough to push the chicken leg through it. 


Repeat with the other leg.


Viola! Trussed chicken.  Granted, this leaves the wings unattended, but my pan is small enough to keep the wings pinned in place.  I sprayed my 9"x9" glass pan with cooking spray and put the chicken there in.


I dusted the chicken with some salt, pepper, and put it in the oven at 325F for 2.5 hours. For a moister chicken that doesn't have the lovely golden skin, cover it for the same cooking duration.  This is where my available time to document things and life conflict, so the only picture I have of the completed chicken is this one, after it had been refrigerated for 24 hours.


Obtain your soup and stock pots


Skin and debone the chicken.  Toss the bones into your larger stock pot for making chicken stock and rough chop the chicken meat and set it aside.


Since the goal is to make broth and soup in this exercise, let's get the rest of our basic ingredients together: celery, onion, and garlic.


Here is where you, the cooker, have two options.  You can cook your stock fresh and use it to make your soup, OR, you can use chicken stock you already have on hand.  This all depends on your available time.  In my case, I had stock already in the freezer so I was doing these activities in tandem.  Because the stock takes longer I got that working first.  In the stock pot where the chicken bones rested I added the rough chopped celery, large onion, and whole unpeeled garlic, along with the other spices listed in the above recipe, and started it to simmering.


While the chicken stock simmered, I did the rest of my chopping and gathering of spices.


Then, with great fanfare and with the delicious smell of simmering chicken stock to motivate me, I began to sauté the onions, garlic, and celery.


To this I added my chicken stock, green chile, and spices.


And, to that I added the chicken.


I like using both the light and dark meat of the chicken.  Partly so I'm not wasting food, and partly because I can fish out the dark meat pieces which my children are more willing to eat, saving me the hastle (and bad habit) of cooking them food that is separate from the general evening meal.

OOO! Lookie! Simmering chicken broth!


Here's the part when everything is going along nicely and I grab my ears and yank in alarm because I have very nearly forgotten to add the tomatillos to the soup.  These are very important.  Don't forget the tomatillos.


Peel and chop these little veggies up and add them to the soup.


Let the soup simmer for no less than 30 minutes, but obviously, the longer it can stew together the better the overall taste will be.


I served this soup up paleo style, thusly.


But, if you're clean eating, gluten free, or otherwise able to consume dairy you could also top it with sharp cheddar and/or sour cream.  Matthew and I ate a leisurely dinner, or as leisurely as Matthew ever eats.  I cleaned up my kitchen and put the kids to bed all the while the chicken stock simmered.  Ultimately, my stock cooked for 4 hours before I strained it.


I got this sieve at IKEA (where else?) for less than $20 and it works very well for this purpose.  The resulting broth yielded 6 cups of stock that I froze in 1 cup increments.


Try this.  It's really not much extra work if you're already messing around with the foundational ingredients of chicken, celery, onion, and garlic.